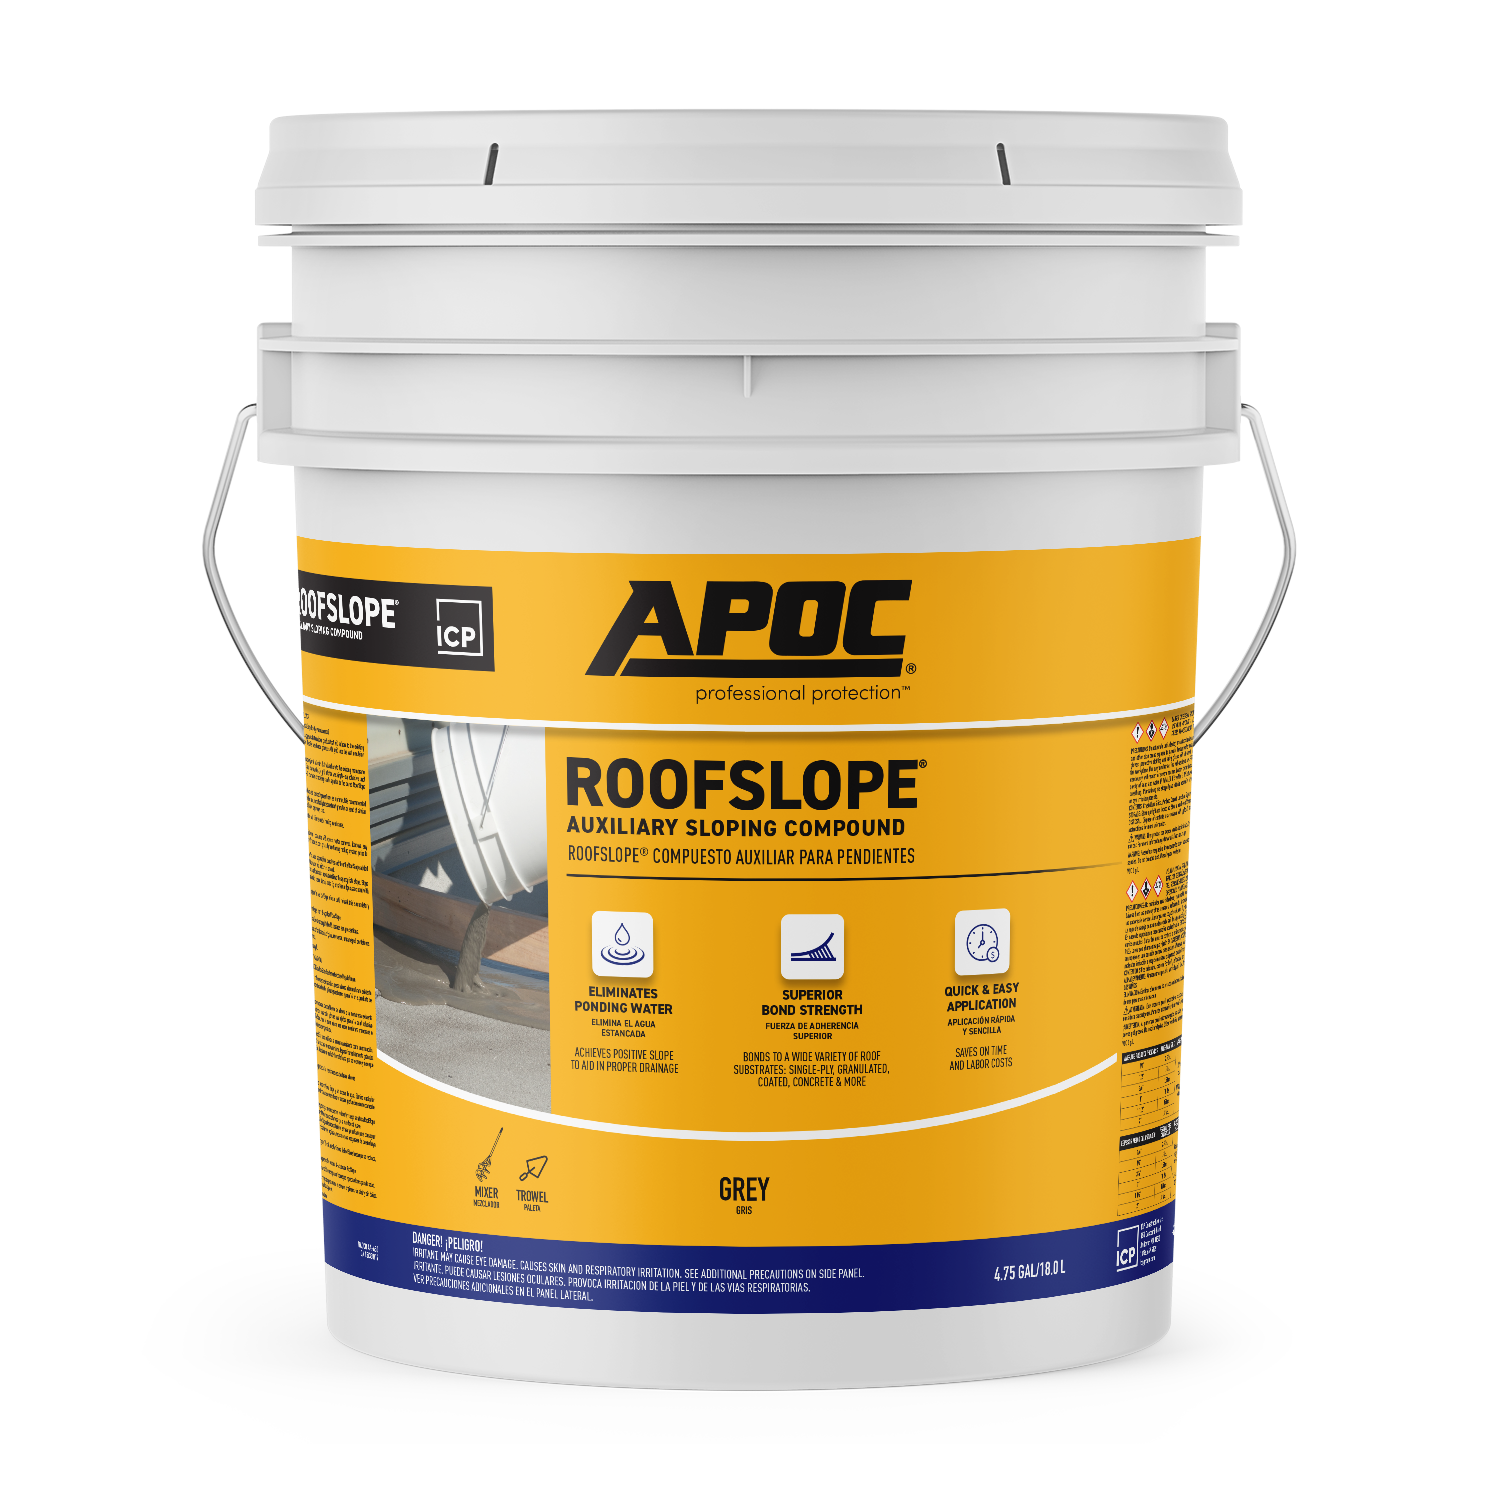
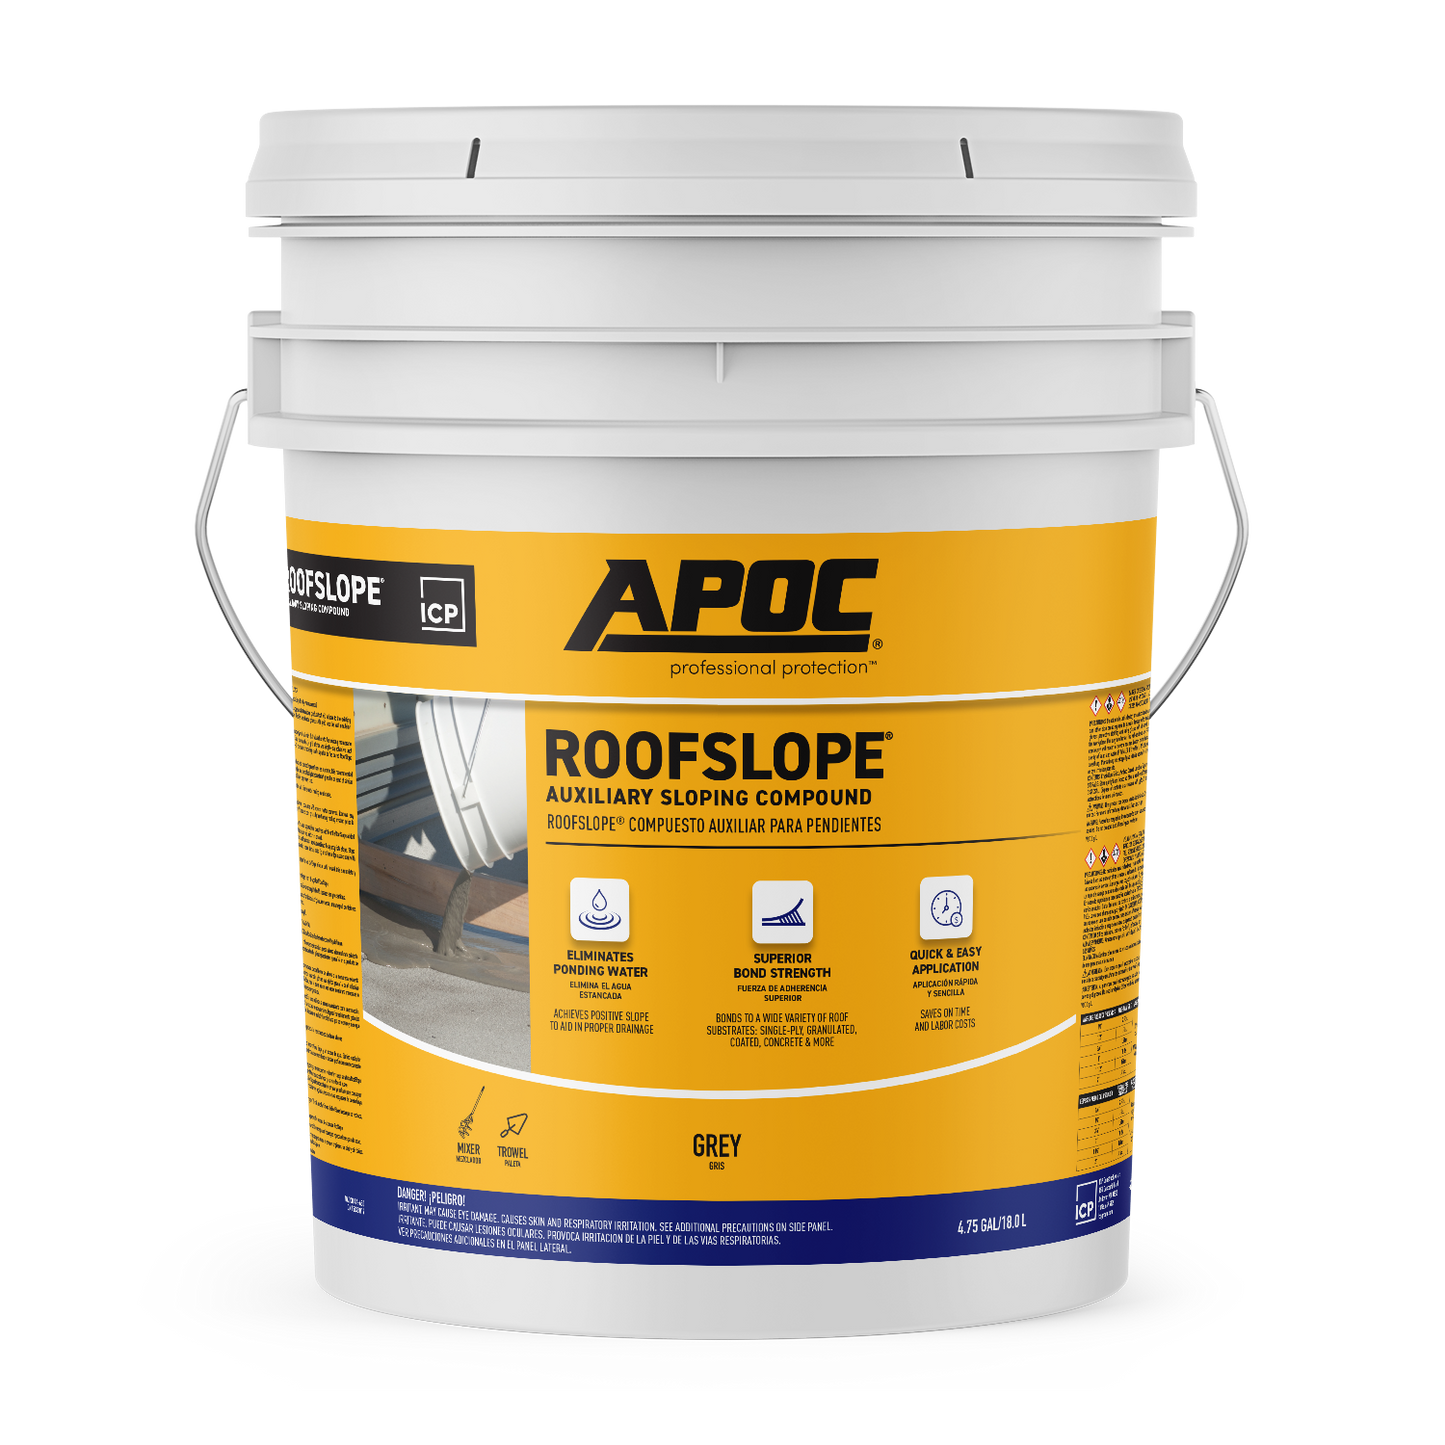
Eliminates Ponding Water - Achieves Positive Slope to Aid in Proper Drainage
Superior Bond Strength - Bonds to a Wide Variety of Substrates
Quick & Easy Application - Saves Time & Labor
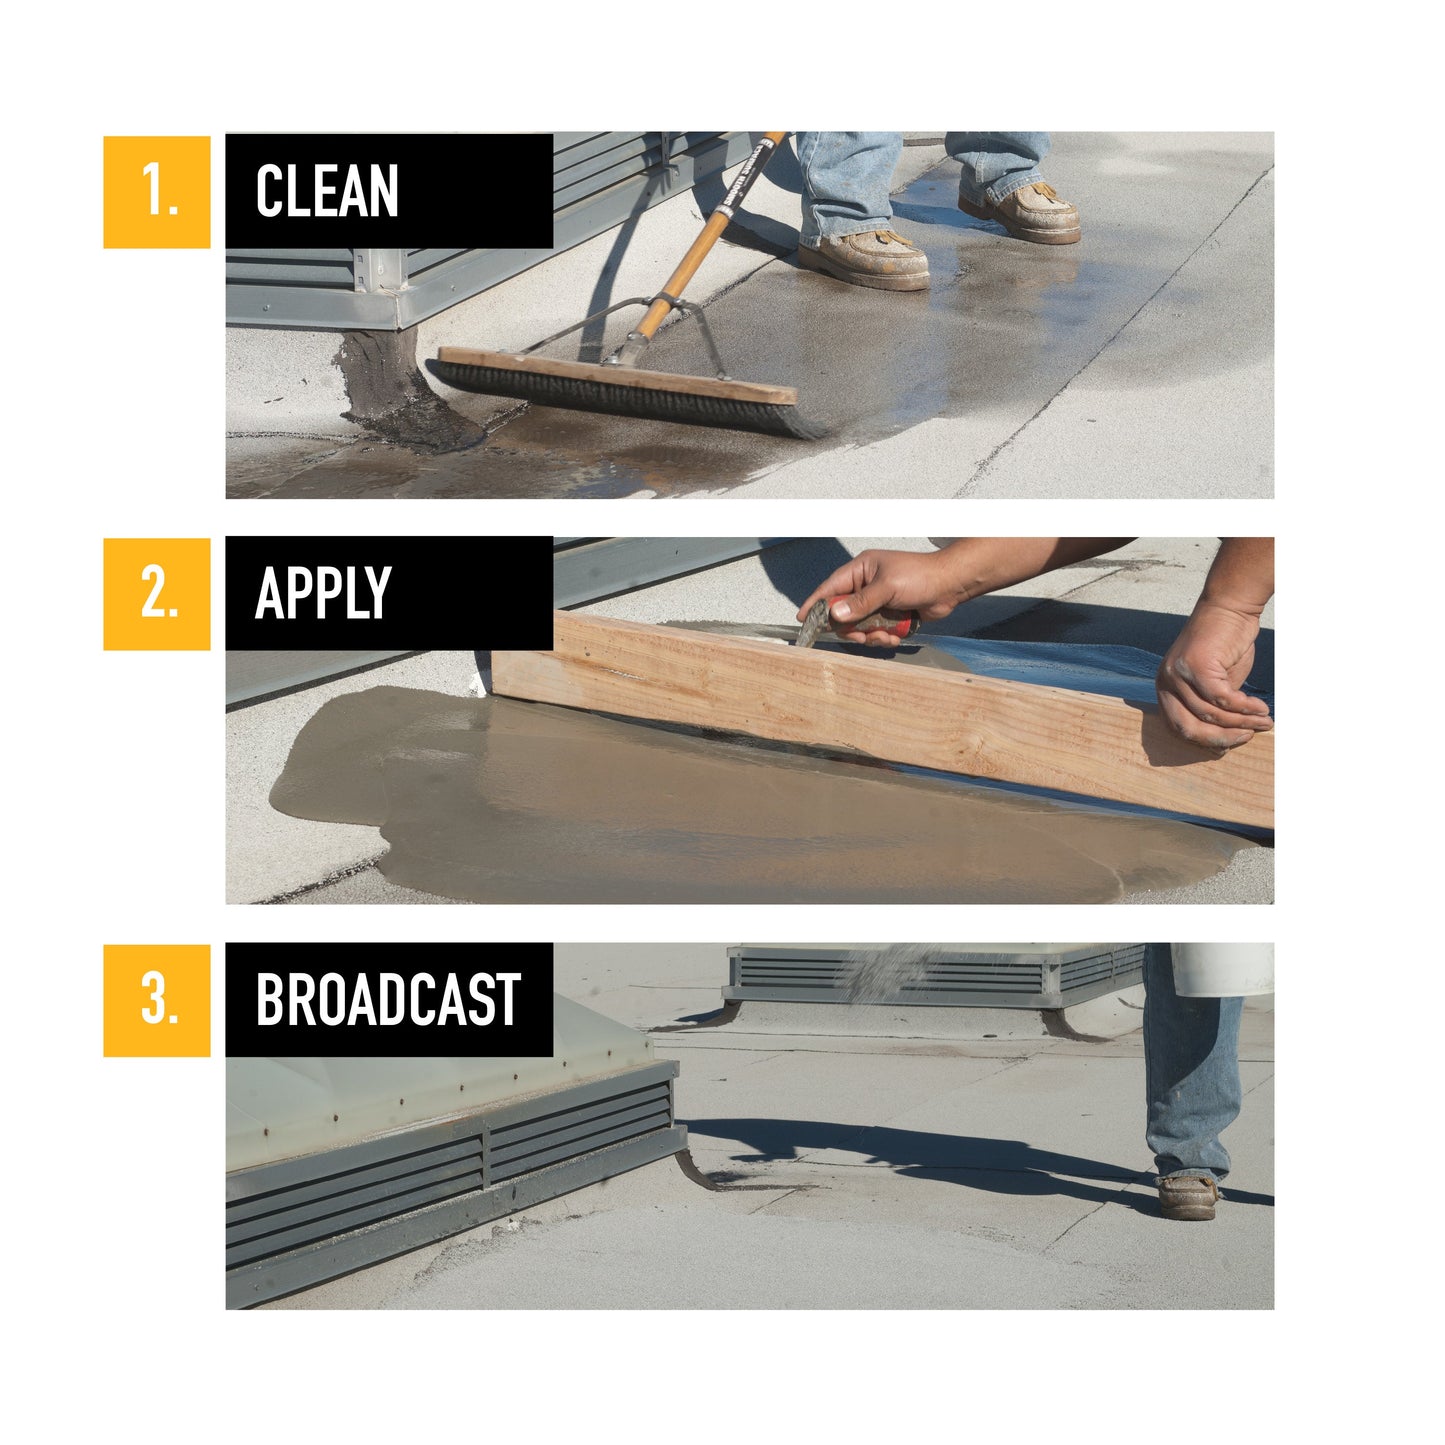
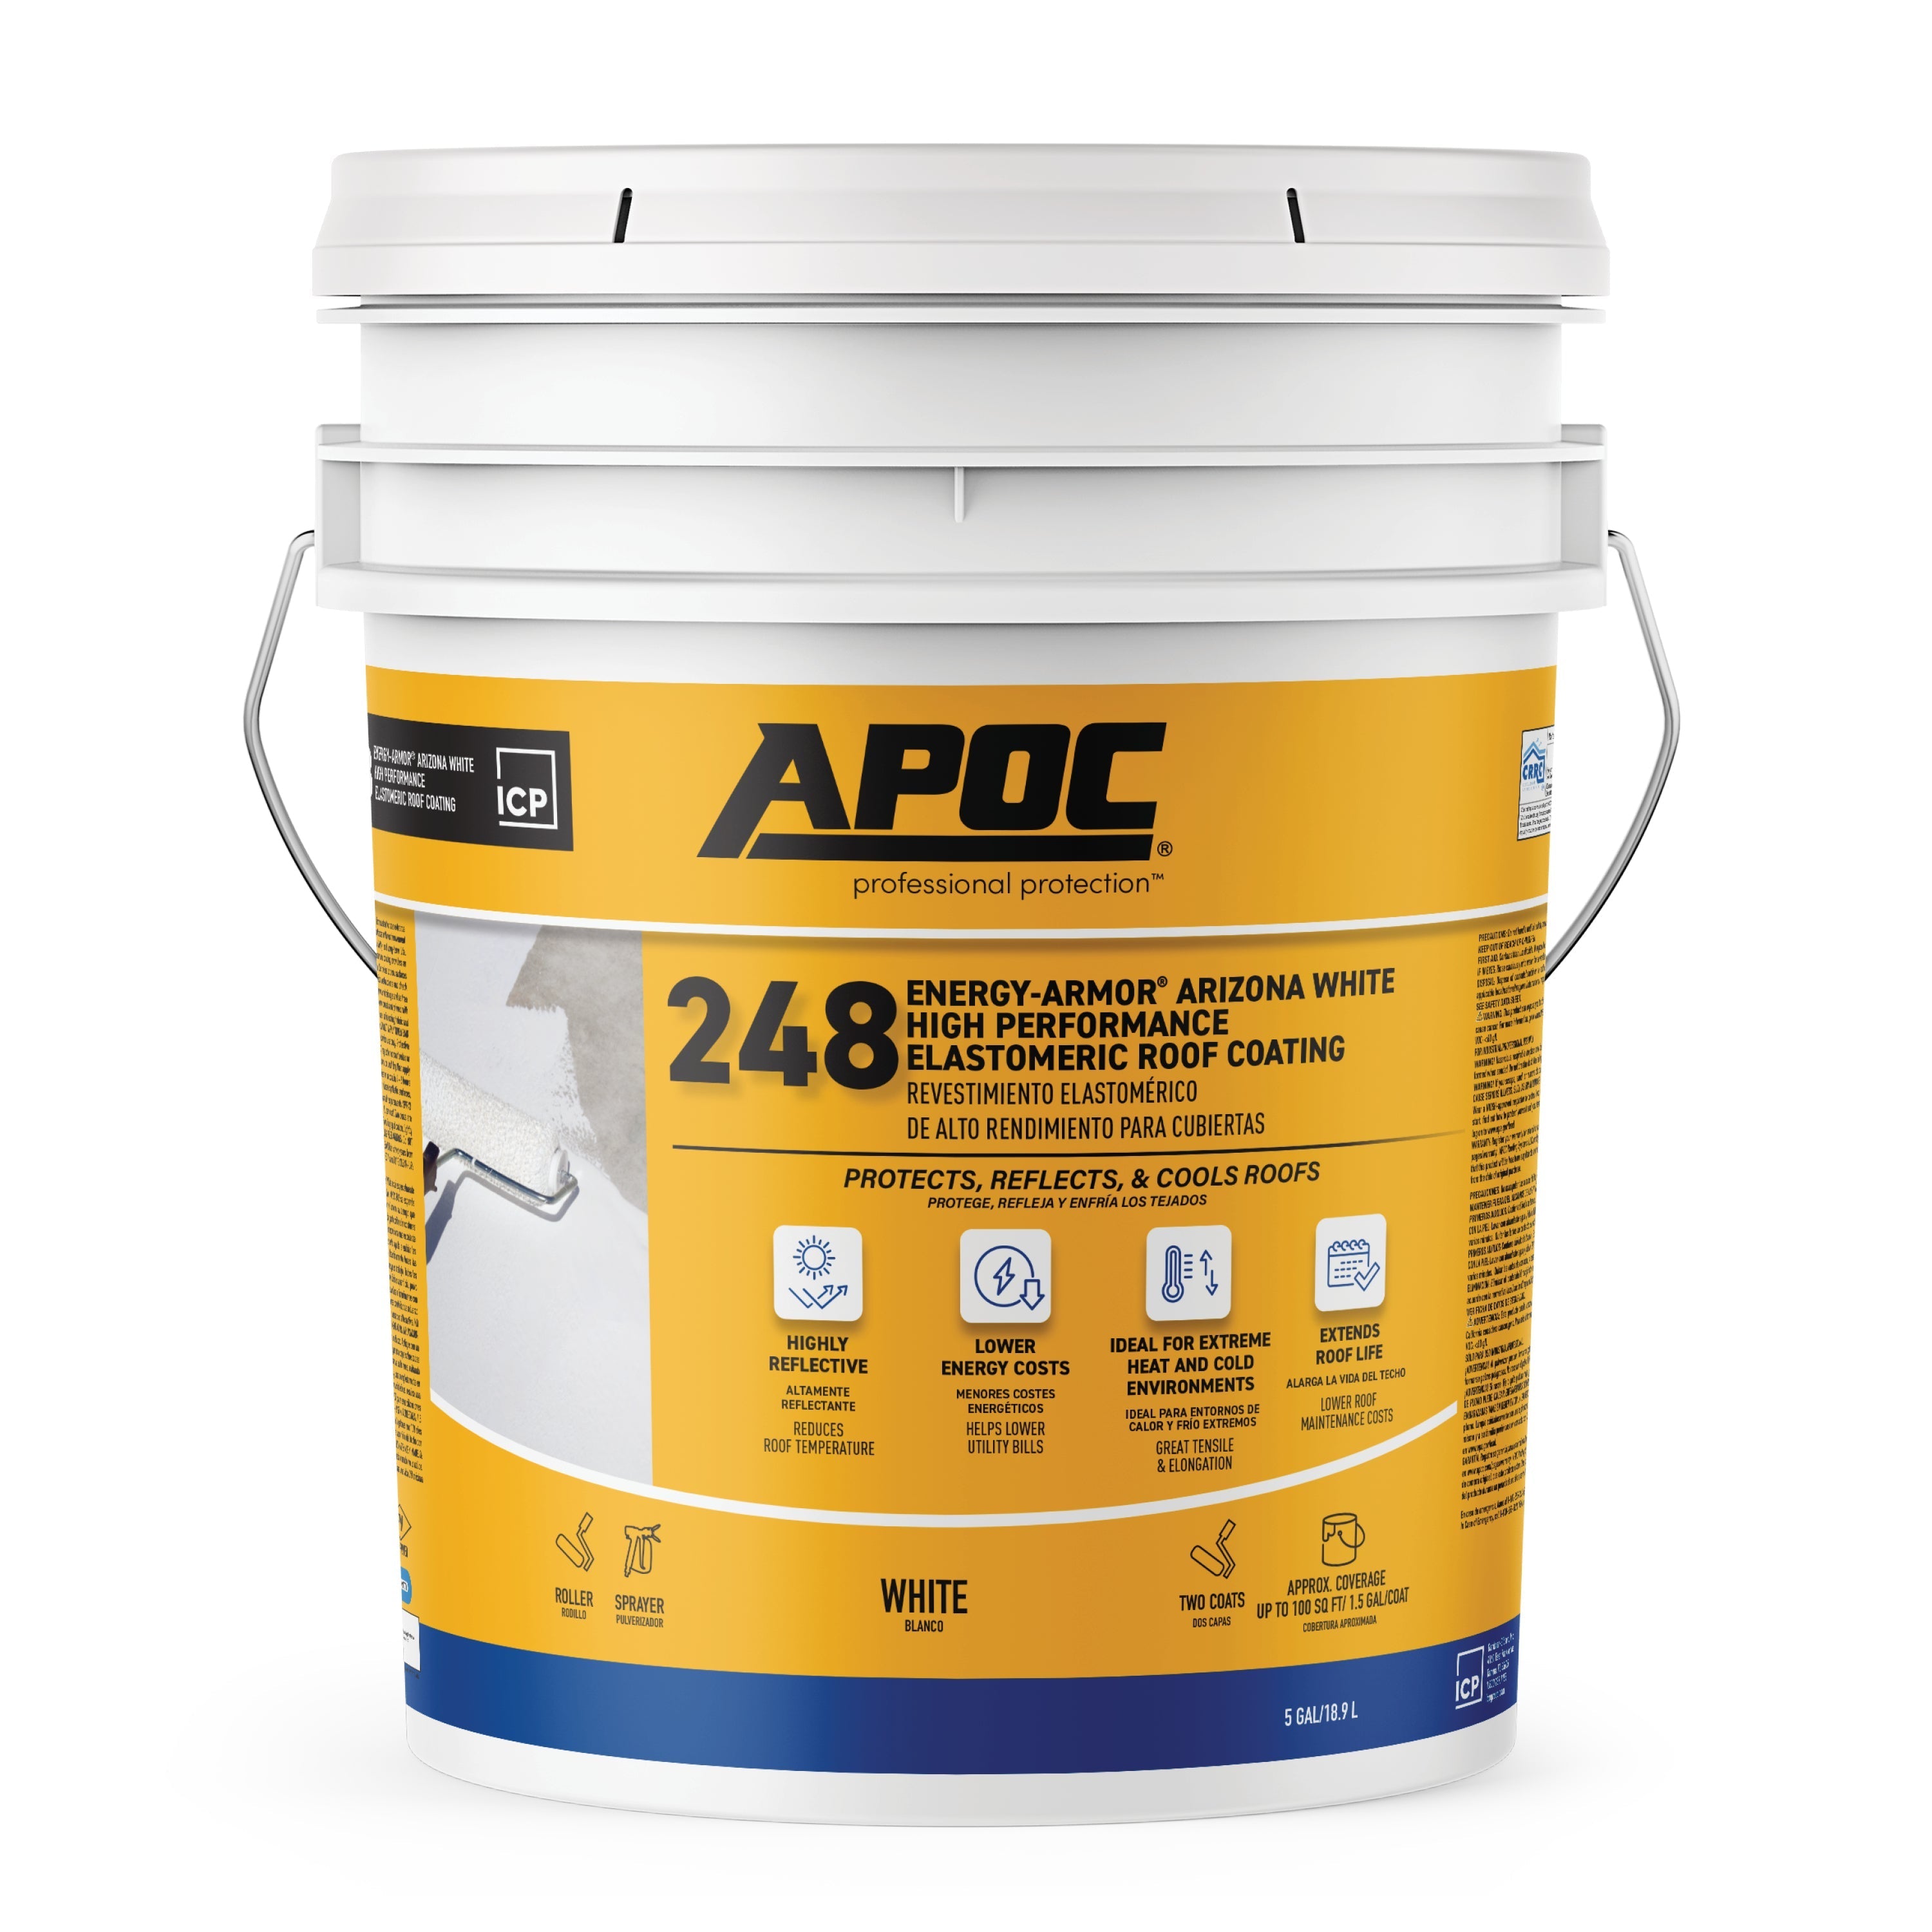
APOC RoofSlope Auxiliary Sloping Compound provides a quick and easy way to fill in low spots on flat roofs and achieve positive slope to aid in proper drainage. This patented technology provides a durable finish with the ability to match existing roofing compositions. The RoofSlope compound is excellent for new construction as well as retrofit work, minimizing costs associated with fixing slope-to-drain issues.